Quick answers (read this first)
- Open the Community Center early so you recognize what to keep—do not try to finish every room in Spring.
- Best early “life changer” goals: Pantry → Greenhouse and Boiler Room → minecarts.
- Collect seasonal forage in season; missing a season hurts more than missing one random fish.
- Vault bundles are a gold sink—do them when you are flush, not when you still need Summer seeds.
- Bulletin Board (gifts / cooked items) can wait; friendship routes are optional in early Year 1.
Who this is for (and who should skip)
Use this if the Community Center feels like a wall of red slots and you do not know which room is worth stress.
Skip or skim if you already run Joja Mart on purpose, or you already have a perfected bundle spreadsheet. This page is for calm Year 1 players who want reward priorities—not a full item encyclopedia.
Version note: Stardew Valley 1.6-era. We describe priorities, not guaranteed Traveling Cart buys or fabricated drop rates. Confirm bundle slots on your board in-game.
From our Year 1 save (real pitfalls): We opened the hall, read the Junimo note, then built a farm chest labeled for “maybe bundle” items. Selling first and checking the board later cost us Spring forage we still needed.
Pros & cons of a “reward-first” Community Center plan
| Details | |
|---|---|
| Pros | Greenhouse and minecarts massively reduce travel pain; seasonal collecting becomes intentional; less panic buying. |
| Cons | You will leave some rooms incomplete longer; completionists may feel “behind” compared to wiki 100% checklists. |
| Use when | First playthrough, short sessions, or you keep emptying your wallet on random cart items. |
| Skip when | You want a same-season full clear challenge or you already know your preferred room order. |
Interactive priority checklist
Tick as you play. Session-only checkboxes—refresh clears them.
Safe to skip early (anti-FOMO)
- Finishing Bulletin Board before you have a kitchen routine.
- Spending seed money on Vault gold bundles.
- Buying every Traveling Cart mystery item “just in case.”
- Restarting the year because one seasonal forage week went badly.
- Trying to 100% Fish Tank before you enjoy fishing.
Room priority: what to chase first
Think in rewards, not “number of red slots remaining.”
| Room | Why it matters | Year 1 stance |
|---|---|---|
| Pantry | Completing it unlocks the Greenhouse—huge for later seasons and calm income. | High priority across Spring–Fall planting. |
| Boiler Room | Unlocks minecarts (farm / town / mines travel QoL). | High priority if you already mine after chores. |
| Crafts Room | Seasonal forage; bridge reward helps quarry access. | Medium–high: collect in-season, do not obsess off-season. |
| Fish Tank | Good when you fish for money / skill anyway. | Medium: easy fish first; rare fish later. |
| Vault | Pure gold bundles; rewards are nice but cash-competitive with seeds/upgrades. | When flush—after backpack / key tools feel okay. |
| Bulletin Board | Gifts, cooking, friendship-adjacent asks. | Low early—return after kitchen + friendships feel natural. |
Spring “keep before sell” shortlist
This is a mindset list for Crafts Room forage and Pantry crops—not a full wiki item encyclopedia. Open your board in-game and match slots; we only name categories that saved us from shipping the last copy on our Year 1 file.
Forage mindset (Crafts-leaning). While Spring forage is on the ground, pick it on the walk to town and park at least one of each unfamiliar wild item in the Bundles chest before the shipping bin becomes muscle memory. Duplicates can sell once the chest holds a spare. Missing a whole Spring forage week hurts more than missing one random fish later. Do not freeze your economy hoarding stacks of twenty—one or two candidates per type is enough for calm play.
Crop mindset (Pantry-leaning). Plant a small mix you will water, then keep a few harvests—especially nicer quality ones—until you have checked Pantry slots. Selling every gold-star crop the hour it grows is how Pantry stalls. You do not need every Spring crop on day 5; you need a plan across seasons so Greenhouse progress stays realistic. Free Parsnips plus a modest paid patch still teach the loop—see Year 1 Spring for patch size discipline and early money so seed budgets survive.
Also keep briefly in mind: easy fish you catch anyway (Fish Tank), and ores from chore-leftover mine trips (Boiler Room). Minerals and artifacts you find while cracking geodes often belong in museum thinking first—pair bundle chests with museum donations so you do not sell a first-copy donate by accident. Traveling Cart buys stay rare; only when one item finishes a high-priority room you already chase—rules on the Traveling Cart page.
Our turn-in day ritual
Exclusive ops from our save: we stopped “checking the Community Center whenever we felt guilty” and replaced it with one weekly ritual. Guilt visits made us rush, mis-sell, or ignore the board for two weeks straight. A ritual made red slots into next week’s plant/forage notes instead of FOMO.
Pick one weekday habit. Ours was “after Sunday shipping feels done, or the first rainy afternoon we are already in town.” Exact day matters less than consistency. Bring the Bundles chest items you think are ready—or turn in from inventory if you carried them on purpose.
Open every room, not just the one you remember. We walk Pantry, Crafts, Fish Tank, Boiler, Vault, Bulletin even when we expect nothing. The point is a full scan: which slots are still red, which are one item away, which can wait. Bulletin Board stays low priority early; seeing it empty is allowed.
Note red slots in plain language. On our save we used a tiny farm scribbled note or a mental three-bullet list: “need another Spring forage type,” “keep next quality crop,” “mine ores when energy leftover.” We did not build a spreadsheet. If a slot needs a season you already left, park it emotionally—buy from the cart only if it matches the high-priority rule above.
Plant / forage next week from that note. Turn-in day ends by deciding the next small action: add one crop type to the watered patch, shake bushes during Salmonberry week for snacks (not bundle miracles), or schedule one mine evening for Boiler ores. Then leave the building. Daily watering and the Spring loop still own the other six days. Gold decisions stay on the spend ladder; cart FOMO stays on cart rules.
When the ritual feels like homework, shrink it: open every room, turn in only what is already complete, write one next-week verb, go home. That still beats selling Spring forage blind and restarting in Summer.
Real screenshots from our Year 1 save
Original captures from the same farm save—no stock art.
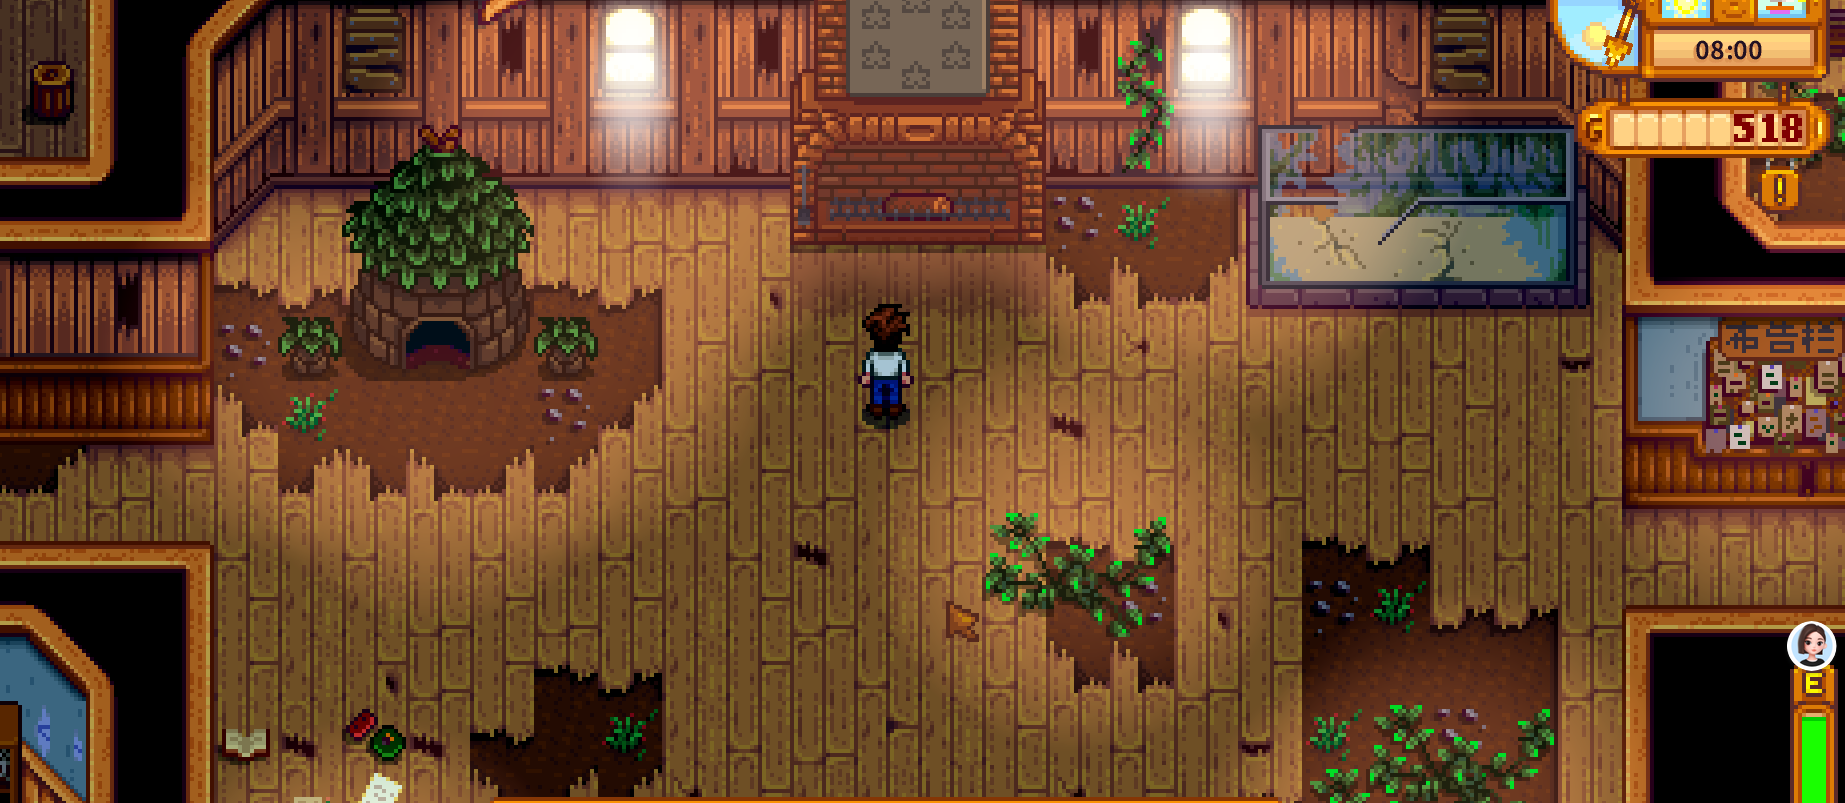
Game screenshot © ConcernedApe — used for guide commentary
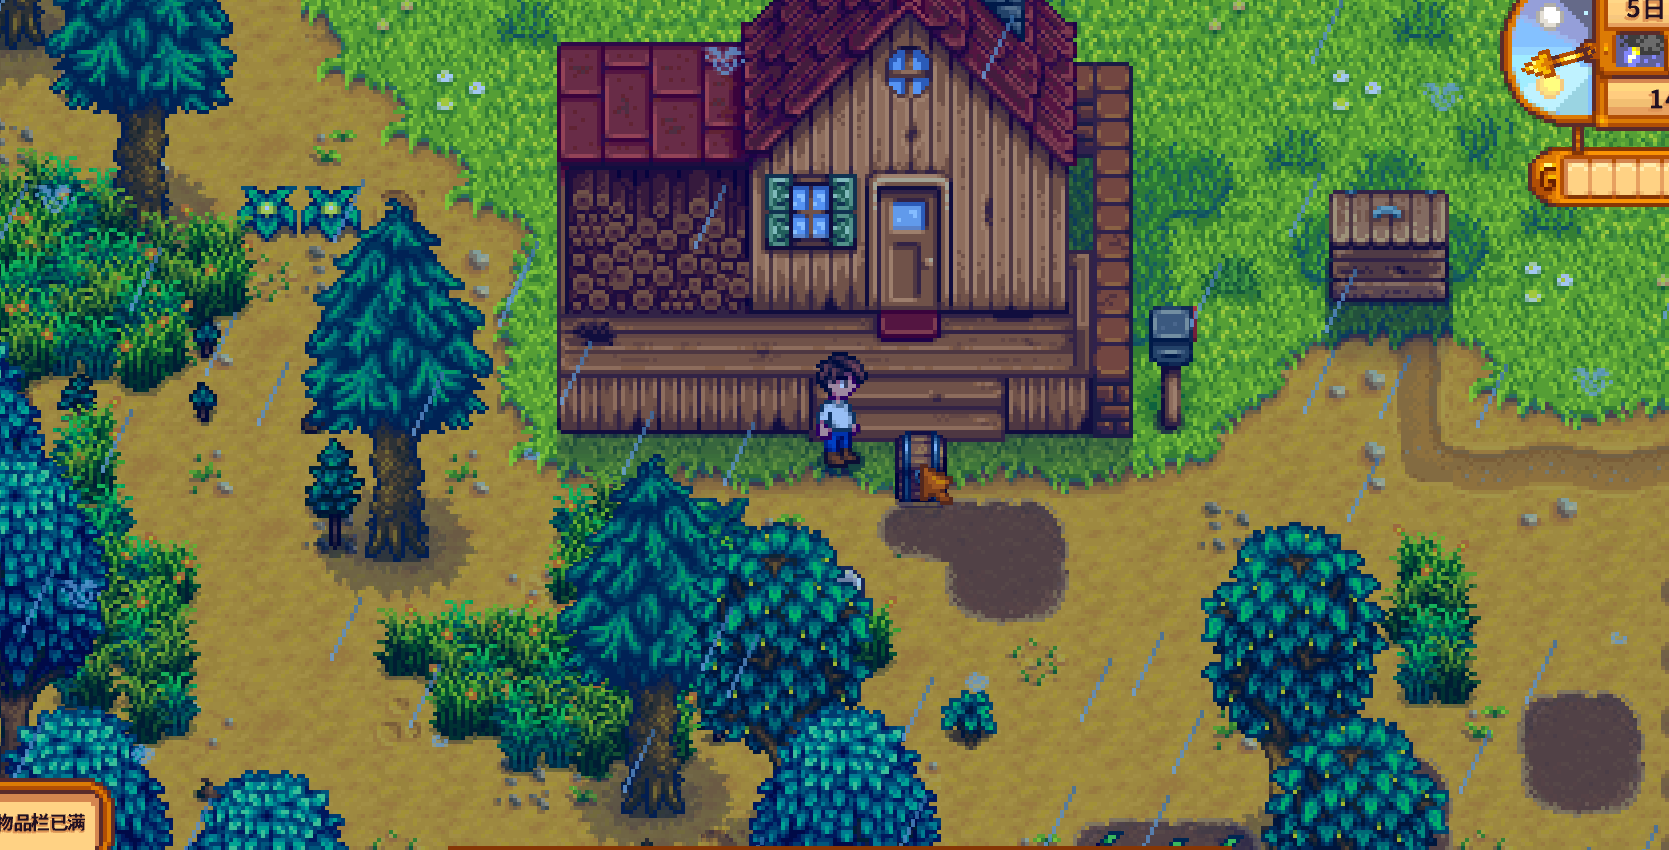
Game screenshot © ConcernedApe — used for guide commentary
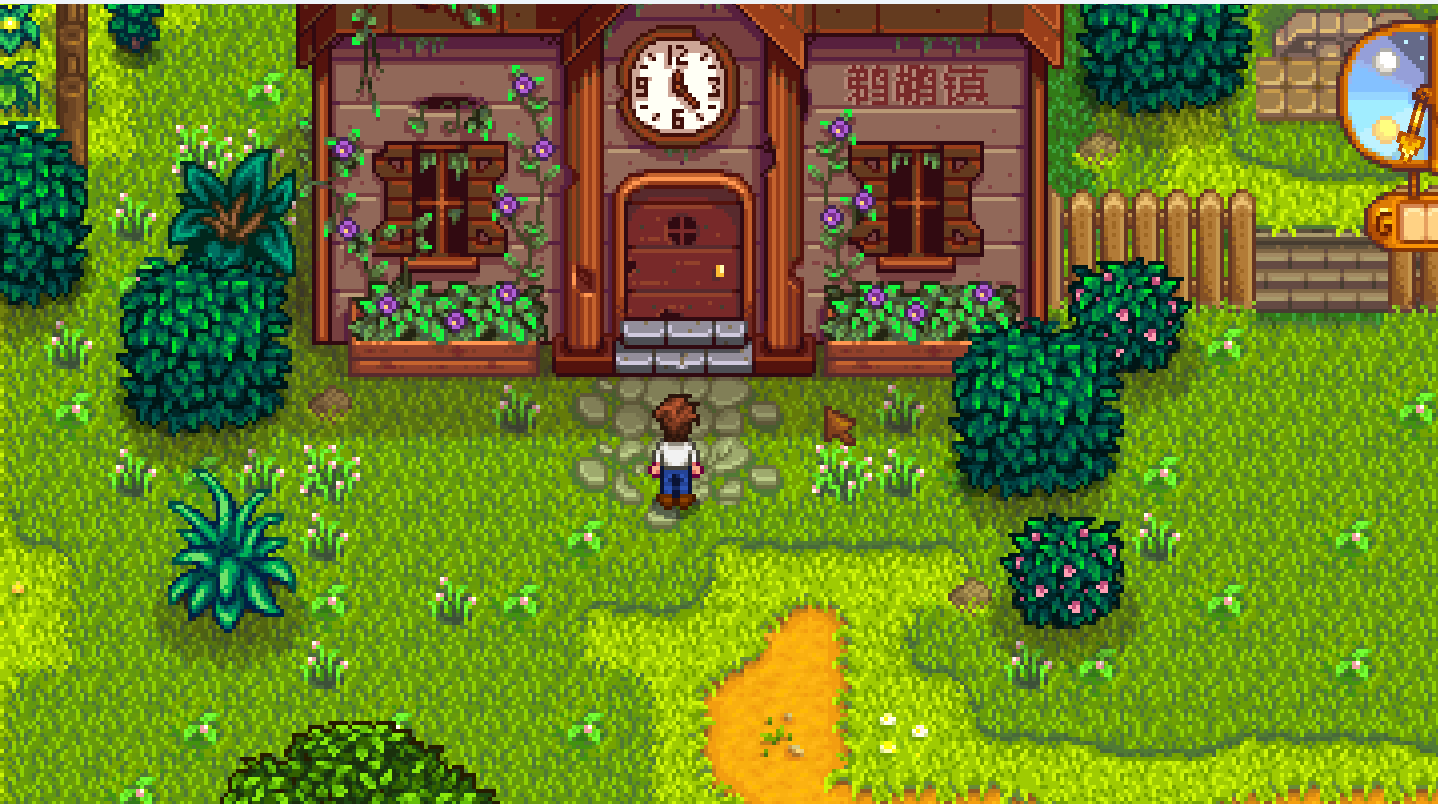
Game screenshot © ConcernedApe — used for guide commentary
How to actually run bundles week to week
- Morning: Water crops. If a crop is bundle-relevant and you only have one, think before selling the first harvest.
- On the walk to town: Pick forage. Put “maybe bundle” items in the Bundles chest the same day—do not trust your memory at 1am.
- Once per week: Open the Community Center and turn in anything already complete. Empty red slots teach what to plant next.
- After chores: Mines for Boiler Room ores or fishing for easy Fish Tank progress—not both until energy feels comfortable.
- Season change day: Re-check Crafts Room / Pantry needs before you sell leftover seasonal forage.
Pantry vs Boiler Room: early decision table
| If your evenings look like… | Lean toward… | Because… |
|---|---|---|
| You enjoy planting and checking Pierre’s | Pantry / Greenhouse path | Your playtime already produces crops; Greenhouse pays that back hard. |
| You already go to the mines after watering | Boiler Room / minecarts | Ores arrive “for free” with your routine; carts save future travel time. |
| You hate mining and love rain days | Fish Tank easy bundles | Progress matches fun; still plant Pantry staples in the background. |
Pitfalls we stepped into (Community Center)
These are days and habits that actually bruised our Year 1 file—not a recycled “don’t sell everything” wiki list. Your board slots and luck will differ; the pattern is what we wish we had read earlier. Spring money bruises that overlap live on early money pitfalls and Spring pitfalls.
- Opened the hall, then sold Spring forage blind. We walked in, read the Junimo note, felt overwhelmed, and went back to autopilot shipping. A week later the Crafts Room wanted a forage type we had already bin’d for pocket change. Fix that stuck: a porch Bundles chest the same week we opened the building—one or two of each unfamiliar wild item before the shipping bin.
- Guilt visits with empty hands. Mid-Spring we popped in “because we should,” saw a wall of red, left stressed, and still did not plan next week’s plants. That is when we invented the weekly turn-in ritual above: one full room scan, turn in only what is ready, write one next-week verb, go home. Guilt tourism without a chest stop made FOMO louder, not progress.
- Shipping every gold-star crop the hour it grew. The bin felt like winning. Pantry quality slots felt like homework we could do “later.” Later meant buying or waiting a season. Now nicer harvests sit in the chest until we have checked Pantry once that week—duplicates still ship.
- Almost dumping Vault gold while the backpack was still tiny. A flush fish week made the Vault look “easy.” Paying those bundles would have competed with Summer seeds and the first backpack upgrade on our file. We parked Vault until inventory and the seed buffer felt okay. Pure gold rooms are optional flex, not Spring homework.
- Traveling Cart “one mystery for the red slot.” We hovered on a marked-up item that might have helped a room we were not actually close to finishing. Walking away kept several days of seed money. Rule that survived: cart buys only when you are one item from a high-priority room you already chase—details on the Traveling Cart page.
- Treating Bulletin Board like a Spring fail state. Gift and cook asks made us feel socially behind while the farm mornings were still shaky. We ignored Bulletin early, talked on errand days, and came back when kitchen and friendships felt natural. Red Bulletin slots in Spring are allowed; they are not a restart reason.
If you only keep one habit from this section: Bundles chest before shipping bin, one turn-in ritual per week. The room table and keep-before-sell list above are how we recovered—not proof we never sold the wrong leek.
Alternative variations
- Greenhouse-first farmer: Track Pantry crops each season; Boiler Room only with leftover mine trips. Best if you love planting.
- Minecart-first explorer: Prioritize ores / geodes while keeping a minimal Pantry plant list. Best if town running feels exhausting.
- Joja path (intentional): If you prefer buying progress with gold and skipping bundle hunting, that is a valid playstyle—just know this guide’s room order is for Community Center restorers, not Joja shoppers.
- Short-session variant: One turn-in visit per week + Bundles chest only. No daily pressure to “clear red slots.”
FAQ
Do I need to finish the Community Center in Year 1?
No. Year 1 should unlock a couple of life-changing rewards and teach seasonal collecting. Full completion can spill into Year 2 without “failing.”
Is the Greenhouse really that important?
For calm players, yes: it reduces seasonal panic and stabilizes income later. If you hate crops entirely, minecarts + fishing may feel better—but most first-timers benefit from Pantry progress.
Should I buy bundle items from the Traveling Cart?
Only when you are close to finishing a high-priority room and the item is the blocker. Random cart shopping is how Spring seed budgets disappear.
What if I chose Joja Mart instead?
Then bundle room order does not apply the same way. Focus on gold income and the Joja improvements you actually want; use our Early money guide for pacing.
How does this connect to Spring?
Spring is when you open the building, start a Bundles chest, and keep Spring forage. Detailed morning routines live in the Year 1 Spring checklist.
Next steps / related pages
Unofficial fan guide. Stardew Valley is a trademark of ConcernedApe. Valley First Year is not affiliated with the official game.